Trending

Harvest is not a single afternoon. It is a chain of small decisions that begins when the grain is still standing in the field and ends months later, when you open a bin and scoop out clean, sound grain. Get the timing right and the rest becomes easier. Get it wrong, and no amount of drying or cleaning will quite rescue the crop.
For small-scale growers, the stakes are personal. A few rows of wheat, barley, oats or rye may feed a household, supply a bakery, or become next year’s seed. The volumes are modest, but the principles are the same as on a larger farm: harvest at the right moisture, dry gently, clean thoroughly, and store cool and dry. Here is how that chain works in practice.
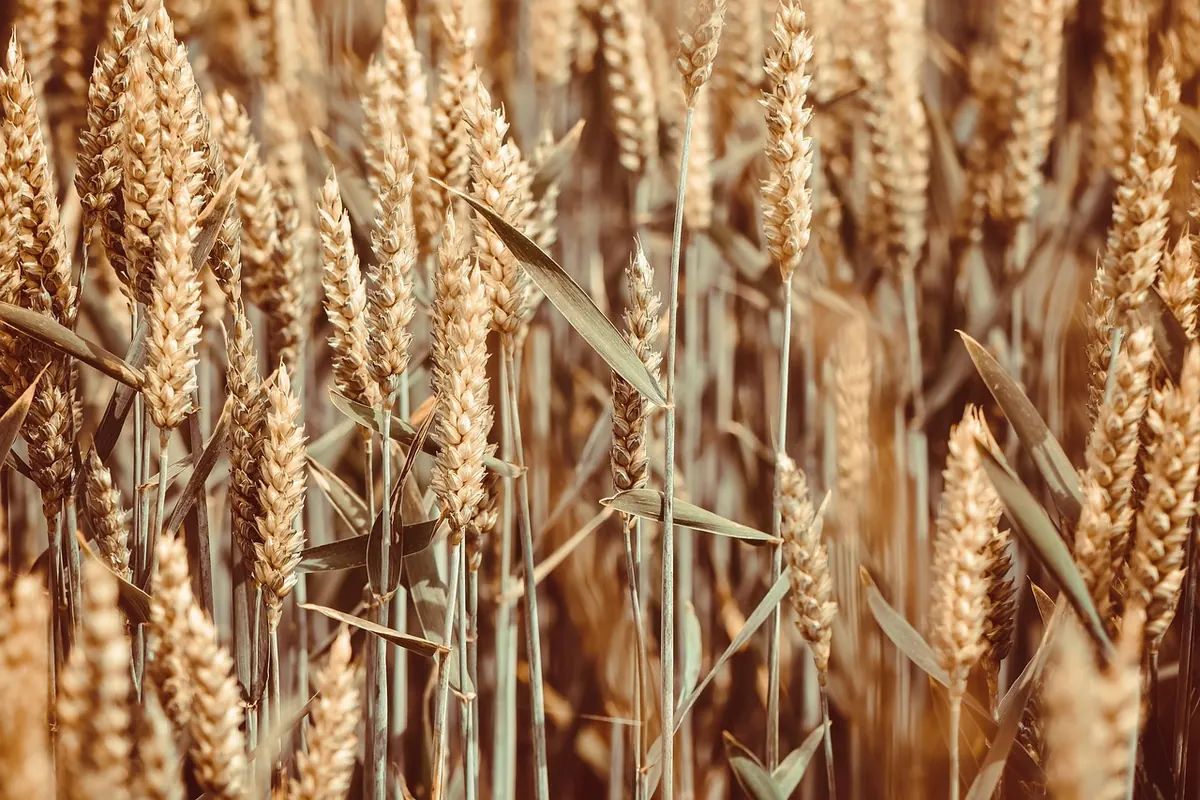
The calendar is a reminder, not an instruction. Two fields of the same wheat sown a week apart can ripen at different times, and a wet spell can push everything back. Walk the field and look at the grain itself. Heads should be filled and bending, the stems should be losing their green, and the kernels should be firm enough to resist a thumbnail. If you can dent the grain easily or it smears, it is not ready.
Sample from several places, not just the edge by the gate. Headlands ripen differently, and low spots may stay green longer. Rub out a handful of heads in your palm. The chaff should come away fairly easily, and the grain should be hard, not doughy. A moisture meter is worth using, but it is only as good as the sample you feed it. Take grain from different parts of the field and test it before you commit the combine or the binder.
Weather matters as much as colour. A dry, breezy forecast gives you room to wait for even ripening. A stretch of rain close to harvest changes the calculation: ripe grain can sprout in the head, lodge in wind, or lose quality if it stands too long. Sometimes the right call is to harvest a little on the damp side and dry it carefully, rather than wait for perfect conditions that may not arrive.
Small grains are usually harvested when the grain is dry enough to thresh cleanly and store safely. The exact moisture target depends on the crop, the climate and whether you plan to dry the grain. For small grains, safe storage is often in the low teens, but local conditions and crop-specific guidance matter. Use a moisture meter and the recommendations for your area rather than guessing from how the grain looks.
Harvesting in very hot, dry weather can make brittle grain shatter. Early morning or late afternoon may reduce losses, but avoid cutting when dew is heavy enough to clog the machine or push moisture up. If the crop is uneven, consider harvesting the driest patches first and leaving the greenest areas to finish. Keep an eye on weeds as well: green weeds through the combine add moisture and clutter to the sample.
Freshly harvested grain is not automatically stable. Even grain that feels dry may be a point or two above the safe storage moisture for your conditions. If you are harvesting small amounts, spread the grain in a thin layer in a dry, airy place and turn it regularly. A small fan and a shallow layer can do more than a deep pile in a shed. For larger batches, a proper drying bin with airflow is safer and more even.
The key is to move dry air through the grain, not just warm it. Unheated air drying works when the outside air is dry enough to take moisture from the grain. If the weather turns humid, blowing that air through a bin can add moisture instead of removing it. Stirring or turning the grain helps even out the moisture and prevents wet spots. Never mix new, damp grain with grain that is already dry; the wet grain will drag the whole lot toward trouble.
Dry grain slowly and evenly. Quick heat can crack kernels and hurt seed quality, while a damp pocket in the middle of a bin can spoil an otherwise good crop.
Measure moisture after the grain has cooled and rested, not just when it comes out of the dryer. Grain can feel dry on the surface while the centre is still damp. If you are saving seed, be extra careful: high temperatures and rough handling reduce germination.
Chaff, straw, weed seeds, broken kernels and dust are not just clutter. They hold moisture, block airflow and give insects and moulds somewhere to start. Clean grain stores better and is easier to use later, whether it goes to a mill, a kitchen or a seed drill.
For small batches, a set of screens or sieves will remove most chaff and oversize material. Winnowing outdoors on a breezy day works well for modest amounts: pour the grain slowly from one container to another and let the wind carry off the light chaff. Do not winnow in a strong gust or you will lose good grain with the rubbish. If you are keeping seed, clean it separately and label it clearly. A small amount of chaff is not a disaster, but a bin full of it is an invitation to trouble.
Clean the store before the grain arrives. Sweep walls and floors, remove old grain from corners and seams, and check for rodent holes and damp patches. Small amounts can go into food-grade drums, metal bins, or sturdy containers with tight lids. Larger batches need a bin that keeps rain out, lets you inspect the grain, and can be aerated if conditions change.
Keep the grain cool and dry, and keep it off the floor. Moisture moves through concrete and through bags, so pallets or a dry wooden floor help. Leave some airspace rather than filling a bin to the roof, and label each lot with the crop, date and moisture if you know it. Do not store grain in feed sacks on a damp concrete floor and expect it to keep for months.
Grain can look fine and still be changing. Check stored grain regularly, especially in the first few weeks and during warm, humid weather. Open the bin, smell the grain, look for crusting, condensation on the lid or walls, and any sign of insects or rodents. A musty smell or a warm patch means something is wrong. Act early: aerate, turn the grain, move it to a drier place, or use it sooner rather than later.
Do not rely on chemicals to fix a moisture problem. Pest control products have specific uses and local rules, and they will not rescue damp grain. If you are unsure, ask a local extension service, miller or experienced grower for advice. The aim is stable storage, not a sealed box that hides a problem until it spreads.
Write down the date you harvested each lot, the crop and variety, the moisture reading, the weather, and any problems you noticed. Note how you dried and cleaned it, and check the store every week or two. Next season, those notes will tell you more than memory ever will. Good harvests are built on small, repeated habits: sample before you cut, dry gently, clean thoroughly, store cool, and look in on the grain before it has a chance to surprise you.
Photo: Alexas_Fotos / Pixabay